Learning embedded Rust by building RISC-V-powered robot - Part 1
After reading The Rust Programming Language book and falling in love with the language, I was on the lookout for my first Rust project. In the “old hardware projects” box, I had a HiFive1 board with SiFive FE310 RISC-V microcontroller, and Velleman’s Arduino based ALLBOT spider robot. Replacing Arduino with HiFive1 and rewriting ALLBOT’s C-based firmware from the ground up in Rust felt exciting!
I knew that Rust targeted RISC-V, but it even had the support specifically for the HiFive1 board!
With that, the first objective is typical embedded “Hello World!"–to blink the on-board LED. The RISC-V Rust quick start project README includes a very detailed description of the process from getting the Rust RISC-V target, GCC toolchain, and OpenOCD programmer (JLink if you have Revision B), down to building and running the project. Since I have Revision A of the HiFive1 board, the Cargo.toml needs this change to disable peripherals that are only available in Revision B:
features = ["board-hifive1"]
The build command compiles the leds_blink example, programs the board, and even starts the remote debugger session:
cargo build --example leds_blink
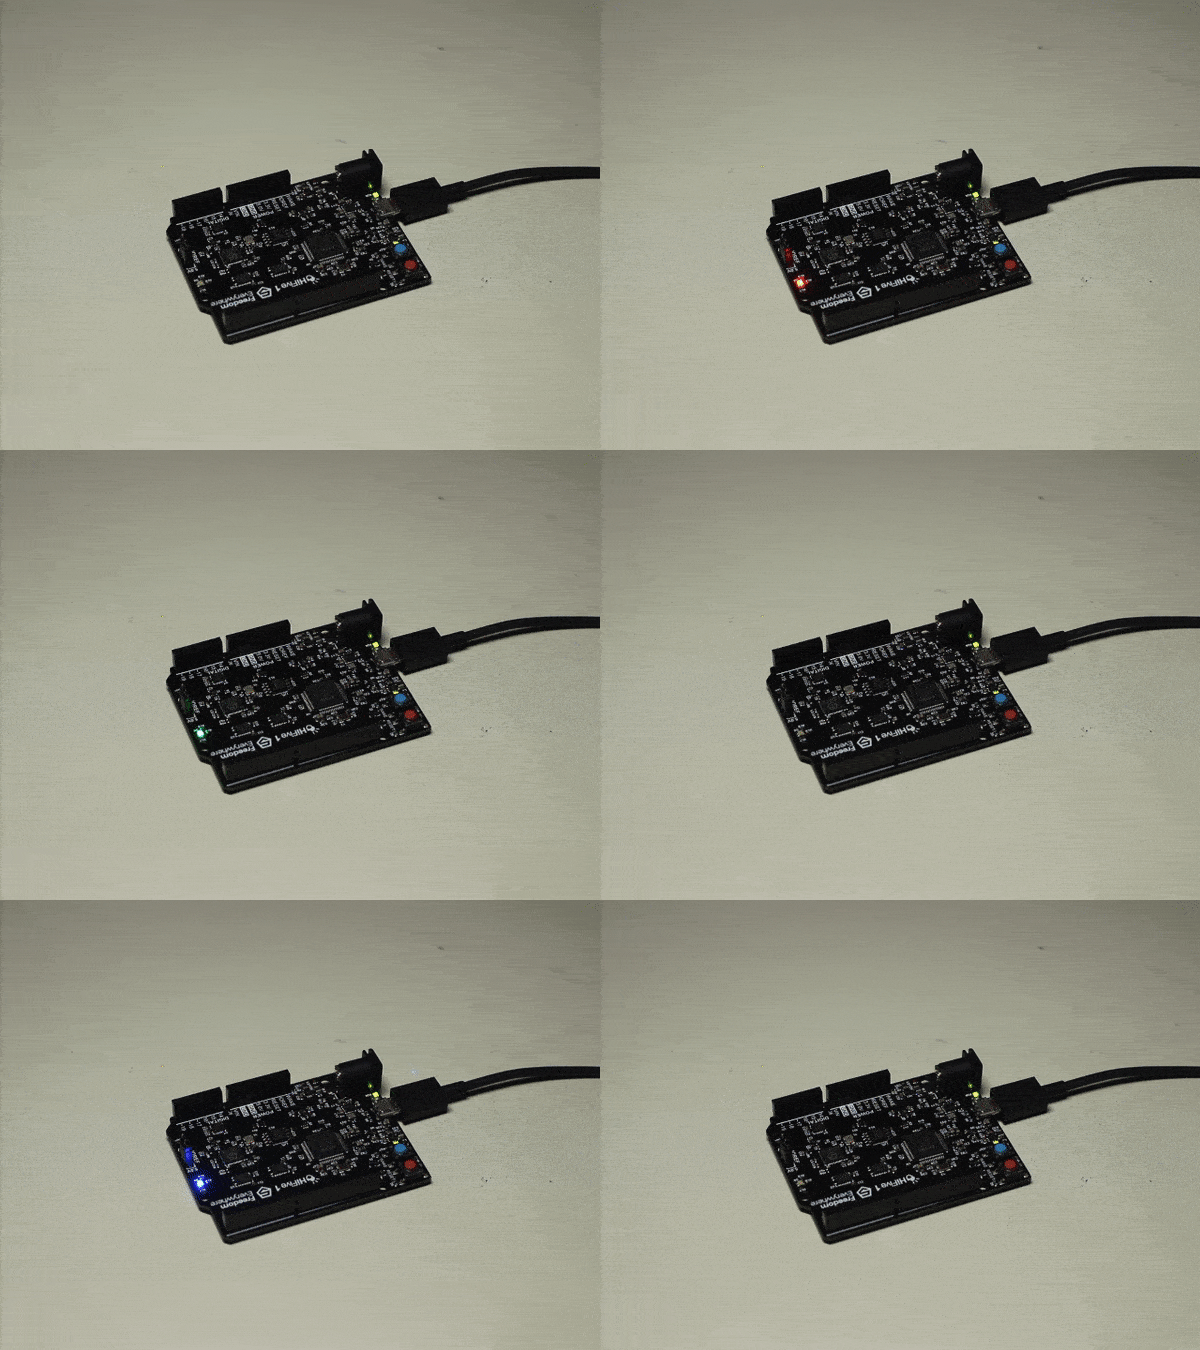
And… it blinks!

The blinker example source code nicely shows many essential elements of embedded Rust. Let’s analyze it line-by-line:
#![no_std]
#![no_main]

/*
* Basic blinking LEDs example using mtime/mtimecmp registers
* for "sleep" in a loop. Blinks each led once and goes to the next one.
*/

extern crate panic_halt;

use hifive1::hal::delay::Sleep;
use hifive1::hal::prelude::*;
use hifive1::hal::DeviceResources;
use hifive1::sprintln;
use hifive1::{pin, pins, Led};
use riscv_rt::entry;

// switches led according to supplied status returning the new state back
fn toggle_led(led: &mut dyn Led, status: bool) -> bool {
    match status {
        true => led.on(),
        false => led.off(),
    }

    !status
}

#[entry]
fn main() -> ! {
    let dr = DeviceResources::take().unwrap();
    let p = dr.peripherals;
    let pins = dr.pins;

    // Configure clocks
    let clocks = hifive1::clock::configure(
        p.PRCI,
        p.AONCLK,
        320.mhz().into()
    );

    // Configure UART for stdout
    hifive1::stdout::configure(
        p.UART0,
        pin!(pins, uart0_tx),
        pin!(pins, uart0_rx),
        115_200.bps(),
        clocks,
    );

    // get all 3 led pins in a tuple (each pin is it's own type here)
    let rgb_pins = pins!(pins, (led_red, led_green, led_blue));
    let mut tleds = hifive1::rgb(rgb_pins.0, rgb_pins.1, rgb_pins.2);

    // get leds as the Led trait in an array so we can index them
    let ileds: [&mut dyn Led; 3] = [&mut tleds.0, &mut tleds.1, &mut tleds.2];

    // get the local interrupts struct
    let clint = dr.core_peripherals.clint;

    let mut led_status = [true, true, true]; // start on red
    let mut current_led = 0; // start on red

    // get the sleep struct
    let mut sleep = Sleep::new(clint.mtimecmp, clocks);

    sprintln!("Starting blink loop");

    const PERIOD: u32 = 1000; // 1s
    loop {
        // toggle led
        led_status[current_led] = toggle_led(
            ileds[current_led],
            led_status[current_led]
        );

        // increment index if we blinked back to blank
        if led_status[current_led] {
            current_led = (current_led + 1) % 3
        }

        // sleep for 1
        sleep.delay_ms(PERIOD);
    }
}
#![no_std] specifies that our binary will not link to the standard crate. Instead, it will link to its subset–the core crate. The reason for this is that the standard crate assumes that a full-fledged operating system is present. The core crate is suitable for bare-metal environments.
#![no_main] specifies that our binary is not using the standard main interface that OS programs use. Instead of setting the OS process environment and preparing the command line arguments, our main function will be called immediately when the device is powered on.
extern crate panic_halt; This crate provides a default panic handler that goes into an infinite loop. It is possible to override with a custom panic handler that may, for instance, print panic details to the serial pin.
#[entry] is an attribute provided by the riscv-rt crate. This attribute is used to mark the entry point of the program.
fn main() -> ! In the embedded software, there is a general convention for the main function to be running until the device is powered down. Rust allows us to specify the return type as ! (never), which lets the compiler ensure we never return.
let dr = DeviceResources::take().unwrap(); Here we take ownership of device resources such as microcontroller peripherals and board pins. In Embedded Rust, the Peripheral Access Crate (PAC) defines the peripherals for a specific microcontroller. For instance, our board uses e310x PAC. This crate is generated by svd2rust tool from the SVD file. CMSIS-SVD (System View Description) is an XML-based standard for describing memory mapping of peripheral devices. The PAC provides the lowest level of access available to our code–reading and writing registers.
The next three lines configure clocks (core at 320MHz!), stdout over UART, and then initialize RGB LEDs. The e310x Hardware Abstraction Layer (HAL) crate implements these abstractions on top of PAC. Many of the traits implemented in e310x are coming from the common Embedded HAL crate. This way, the code for standard devices such as UART is easily portable between embedded platforms. The hifive1 board crate is built on top of e310x HAL and implements the RGB LEDs, external clock, and pin assignments that are specific to the board.
Next, we initialize HAL’s Sleep abstraction that uses mtimecmp register of the FE310’s core-local interruptor device (CLINT) and clocks to convert time to ticks.
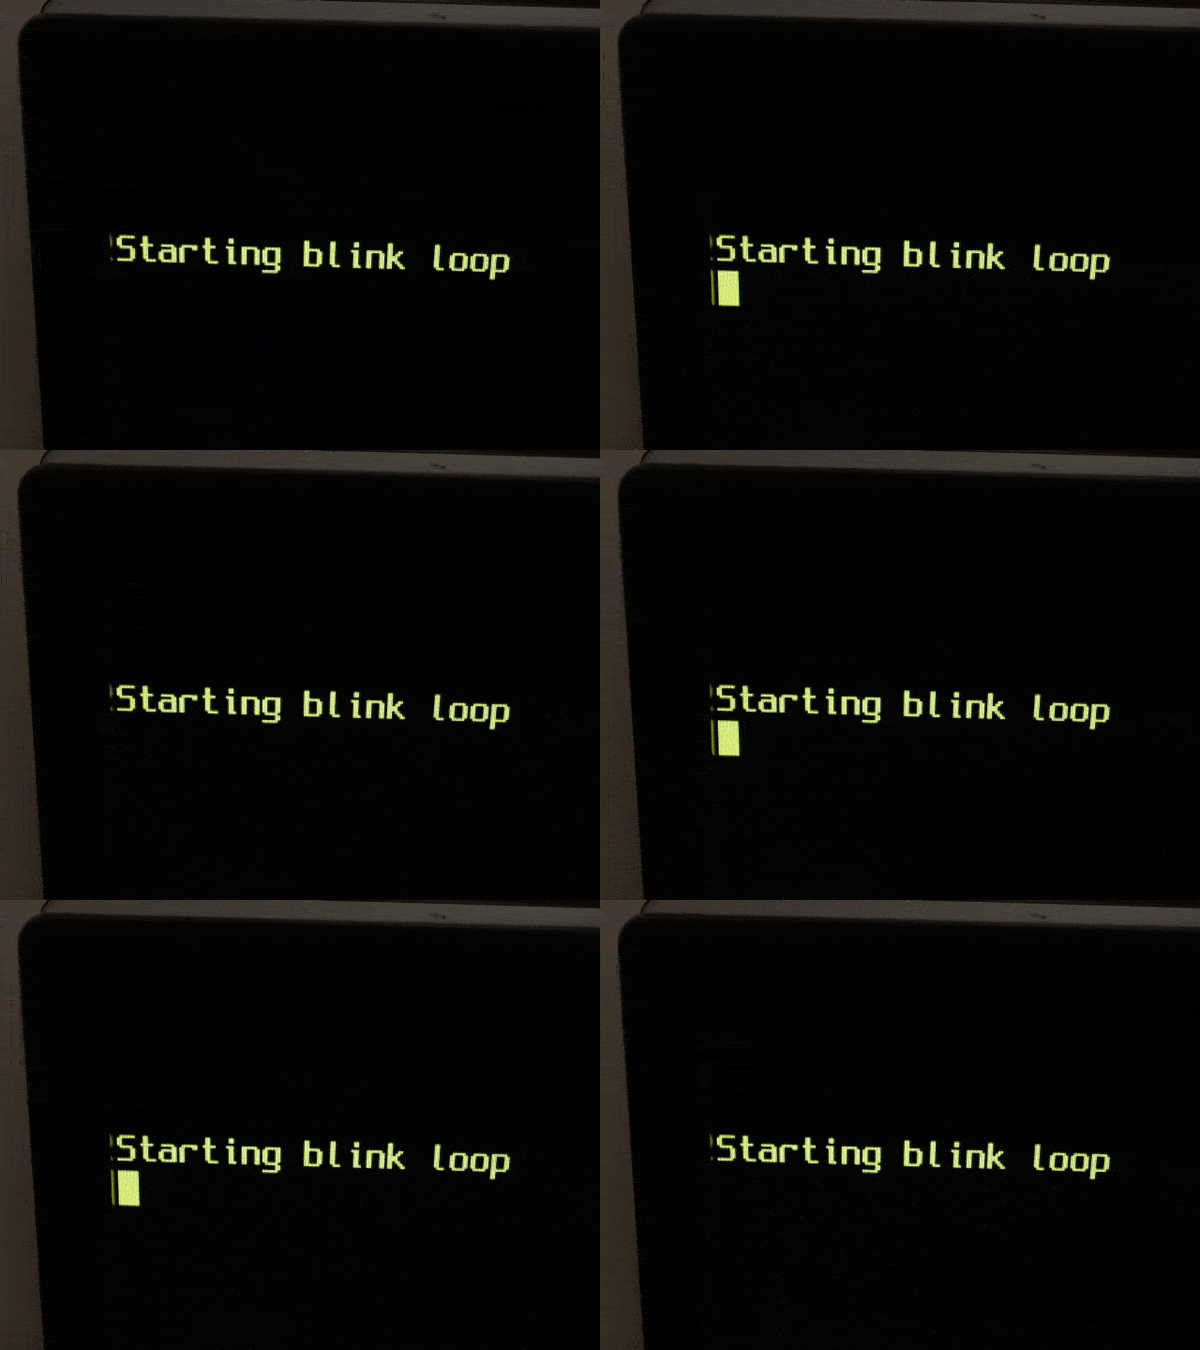
sprintln!("Starting blink loop"); Now we print the message to the serial pin. With the terminal connected to TX (1) pin and set to 115,200 bits per second, I was able to see it!

Finally, we start the blinking loop with a 1-second sleep delay.
That is it for part 1! In the next part, we will write Rust to control a servo motor with Pulse-Width Modulation peripheral by accessing hardware at the PAC level.